

Using the application
The following general conventions apply throughout the application.
Required Values
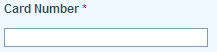
Many functions allow you to enter one or more values (for example, as Search Criteria in reports). Often these values may be left empty and the application will use a sensible default value. However, sometimes you are required to enter a value for a field. If this is the case, a red asterix * will be visible to the right of the field label. Wherever you see a red asterix, you should always supply a value for the corresponding field.
Help
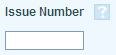
Most input fields have an associated help text which provides information about the purpose, format or range of permissible values for a field. You can access this help text by clicking the help icon  to the right of the input field.
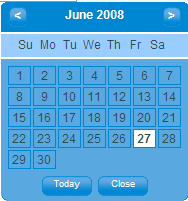
Entering Dates
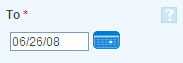
Dates should be entered in the format mm/dd/yy. For example, 28/12/1964. As an alternative to entering the date directly into the input field, you can also select the date interactively by clicking the calendar icon to the right of the input field. This will display a monthly calendar dialog where you can browse to and select the required date.
Date/Time Locality
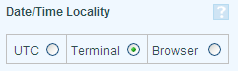
Since transactions and clients can span multiple time zones, some flexibility in searching and displaying times is necessary. For each transaction, the application records the date & time of submission as supplied by the originating terminal (Terminal Time) and also in Universal Coordinated Time (UTC Time). UTC is broadly equivalent to GMT and provides a worldwide time standard.
When you request a report, the application can use either of these times when searching for transactions and displaying the results.
The application also provides a third option, namely Browser Time. This is based on UTC Time but is adjusted to take account of your local time zone.
In general, wherever your report is expected to contain transactions from more than one time zone, you should select either the UTC or Browser options.
Resorting results
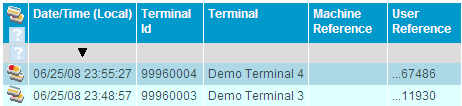
Most reports allow you to resort the results. Where this is possible you will see a grey row beneath the column headings. In one of the cells within this row you will see a black arrow which indicates the column which is currently being used to sort the results. Clicking any other cell within this row will cause the results to be resorted according to the contents of the column to which the cell belongs and the position of the black arrow will be changed to reflect the new sort column. If you click the black arrow itself, the application will toggle the sort direction of the current sort column between ascending and descending.